Assets
Asset Information
The Asset Tree displays each asset and enables the user to navigate to each individual unit as well as unresolved defects occurring on those units.
Each tree contains a numeric summary in the bottom right hand corner. Depending on the tree currently being viewed it highlights the number of items in the tree. For example, the Asset Tree number indicates how many assets are available in the tree.
Users may zoom to the asset in the map pane by selecting the asset in the tree and vice-versa.
The View All check box on each tree will show archived or completed data in AssetAsyst®. For the Asset Tree, this will show archived assets and units. For the Inspection Tree it will show historically completed inspections.

Road Asset Details
 Within the road information form there are 5 tabs detailing information on the selected road asset.
The first tab, Linear Information, details the asset name and ID and contains a Unit grid, which stores the unit information of all units contained within that asset. To edit any field, simply select the cell to be changed, enter the information, and click Save when editing is finished.
The Custom Fields tab can be used to store any custom information
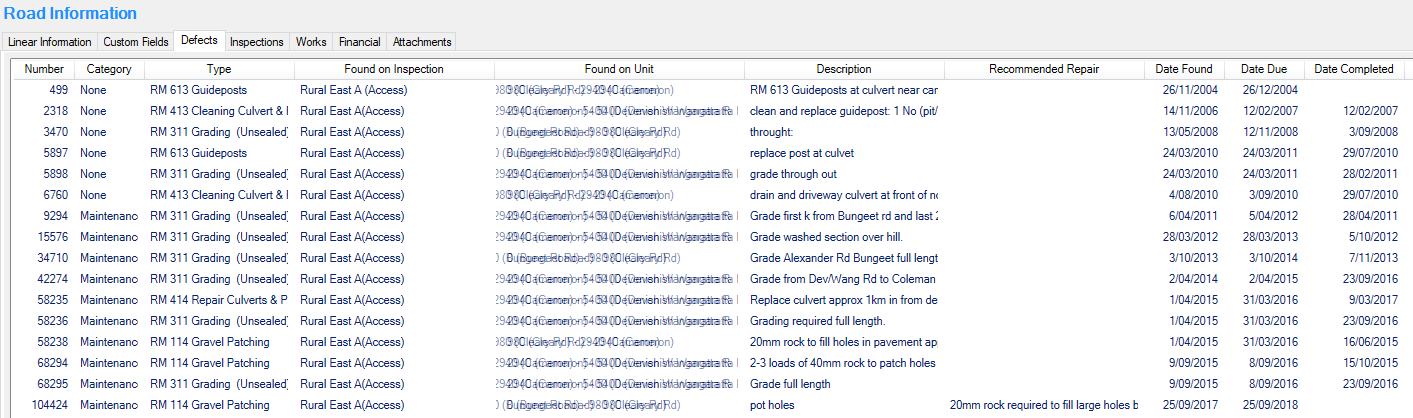 The Defects and Inspections tabs contain tables listing all of the defects present with the asset and inspections that the asset has been a part of respectively.
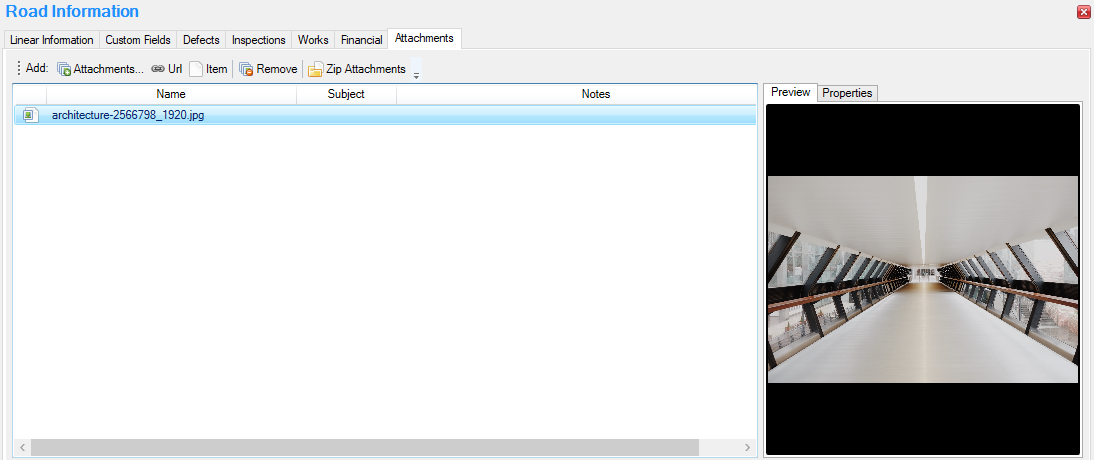 The final tab is the Attachments where photos and other files can be attached to the asset.
Pathway Asset Details
The pathway information form contains the same information as the road information and operates in the same manner.
Building Asset Details
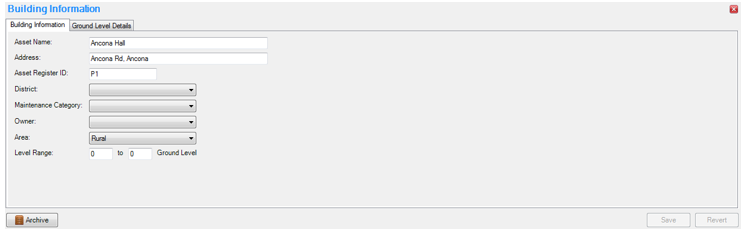
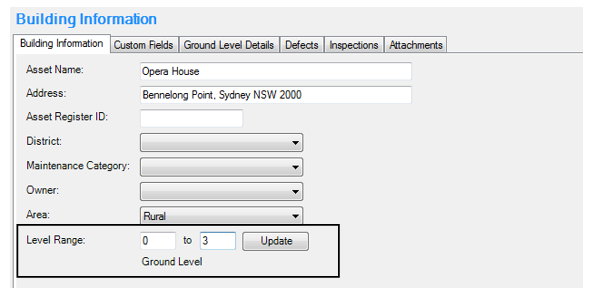
The building information form is quite different. It lacks the units grid, but has more asset-level details.
Bridge Asset Details
The bridge information form has a number of tabs that are similar to the linear asset types, including Custom Fields, Defects, Inspections, Load Rating, History, Financial and Attachments.
The main difference between the bridge information form and the road or pathway information forms is that the Linear Information tab is no longer relevant and instead shows a Generic Data tab for the asset details, and the Units tab for the structure components.
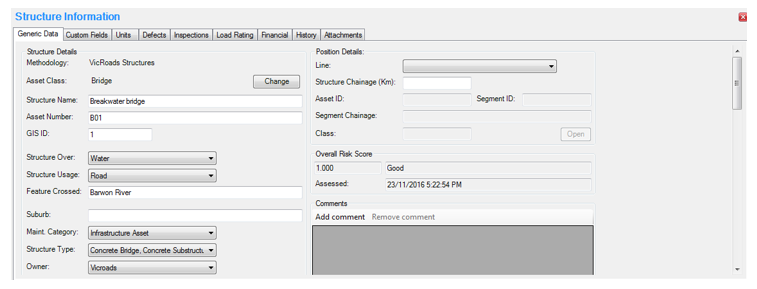
The Generic Data tab contains all of the details of the structure, such as name and ID, structure type, materials, geometry and the like.
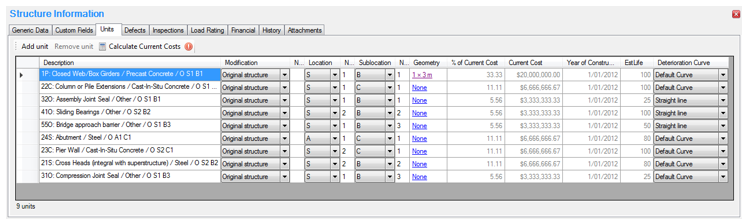
The Units tab contains a Unit table similar to that on the Linear Information tab of the road information form. All of the information relating to the units (components) in the structure is contained in this tab.
Custom Assets
AssetAsyst allows you to define your own asset types. These assets have basic details in the main asset info tab, but can be significantly extended through the use of custom fields.
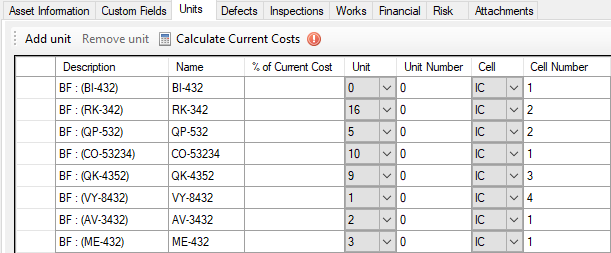
 As with structure assets, custom assets have a units tab which contains the various components of the asset. Custom asset units have an editable name column that you can use to help identify particular units. They also have customisable location and sub-location columns, which can further help to pin-point the unit on the asset.
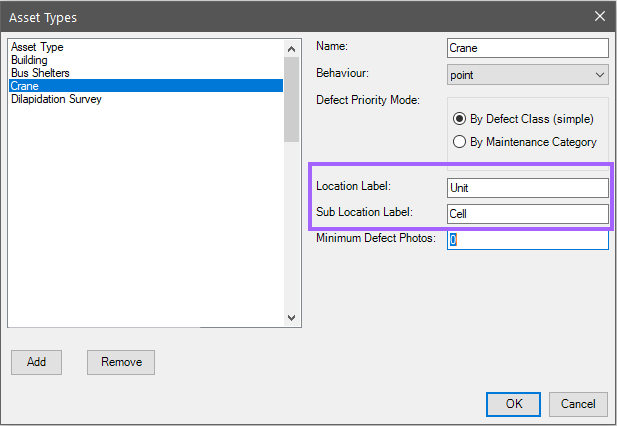

 The "Location Code" field in sub-locations allows you to link sub-locations to locations. In this way, the user interface will filter sub-locations by selected location during inspections.
Asset Archive
Assets can be Archived in AssetAsyst® by clicking the Archive button at the bottom of the information form. Users are then forced to enter and reason for archiving.
If an asset is archived in AssetAsyst®, the asset remains stored in the database for future reference. It can be reviewed at any time, click View All in the Tree view to display archived assets.
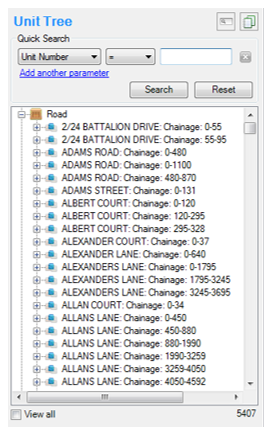
Unit Information
The Unit Tree displays the same information as the Asset Tree but in a different format. It shows all units at once while maintaining the asset name in the view at all times.
The unit tree can be useful when trying to find information associated with some, but not all units of a desired asset.
Defects can be viewed in both Asset and Unit trees by clicking the plus symbol at the unit level.
Unit Details
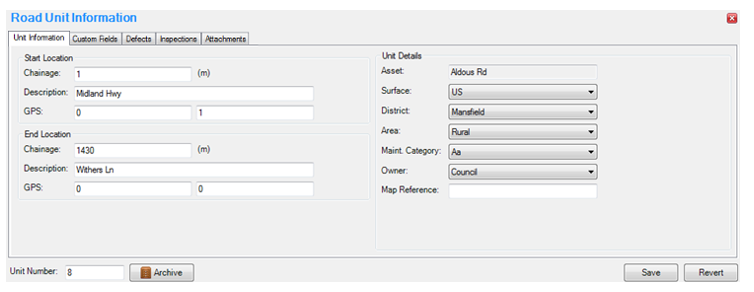
The unit information forms contain five tabs, which are the same regardless of the asset type that the unit is assigned to. These tabs are Unit Information, Custom Fields, Defects, Inspections and Attachments.
The Unit Information tab contains unit-level details. For road and pathway asset units this includes start and finish chainage as well as road surface and the like.
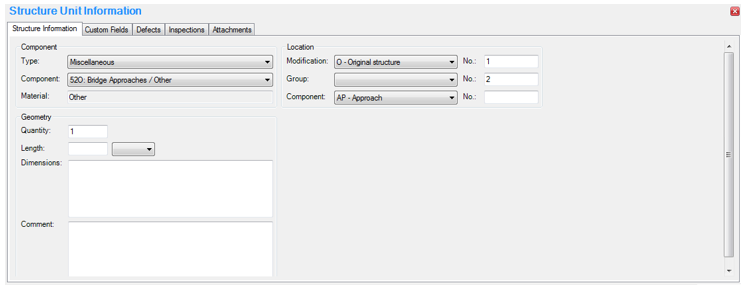
For bridge type assets the Unit Information tab contains information on the component type, number and material, along with its location in the structure.
Unit Archive
Like assets, Units can be archived in isolation from the asset. Like assets, when a unit is archived the unit remains stored in the database for future reference. It can be reviewed at any time, click View All in the Tree view to display archived units.
When an asset is archived, all units linked to that asset are also archived.
Adding an Asset

Create a new asset by clicking the File > New > Asset menu option. You will be asked which type of asset you want to create: Road, Pathway, Building or Bridge depending on which modules you have registered. Based on the Asset Type selected additional options may be presented to the user to complete before the asset can be created.
Once OK is clicked, a new blank asset will appear in the information pane ready for data. At a minimum, you must enter a name for the asset.


Once this information has been input, click the Save button to store and activate the new asset.
NOTE: It is also possible to create and edit assets and units in the capital editor.
Adding Unit Details
Linear Assets
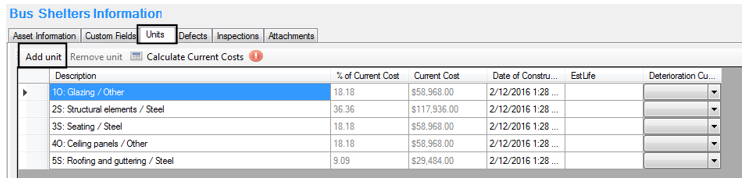
To add a unit to the asset, click the Add Unit button below the unit grid in the Linear Information tab for linear assets, and above the unit grid in the Unit tab for bridge assets. A new blank line will appear in the grid. Use the dropdown lists in the Unit information grid to change existing list information or type into the text cells to add data.
NOTE: The “Unit ID” or “Segment ID” will be the unique ID that will be used to link the data from AssetAsyst® to your map layer.
Building Assets
To add units to a building asset, edit the Level Range values and click the Update button. AssetAsyst®will create the necessary units to represent the levels.
Structure and Generic Assets
To add a unit to a structure asset, or a point custom asset, click on the Units tab, then click the Add Unit button.