
Reporting
Most reports in AssetAsyst® are accessed from the Report menu, some however, are launched from relevant forms in the system. These reports are specific to individual records.
Unit History
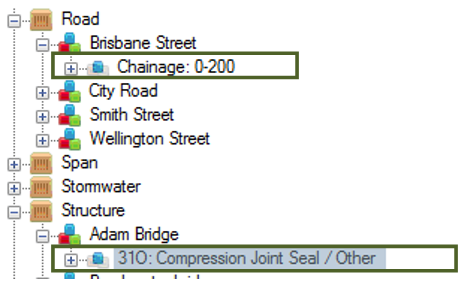
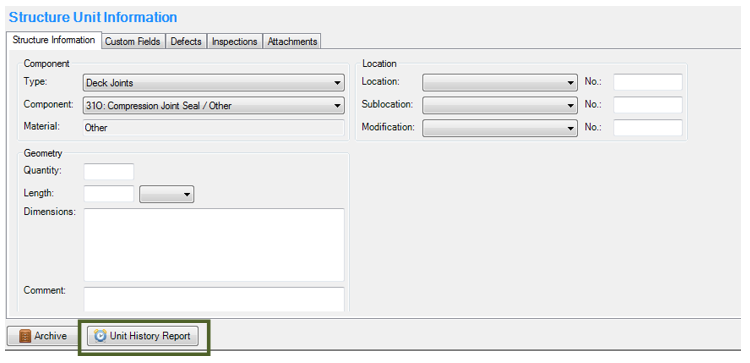
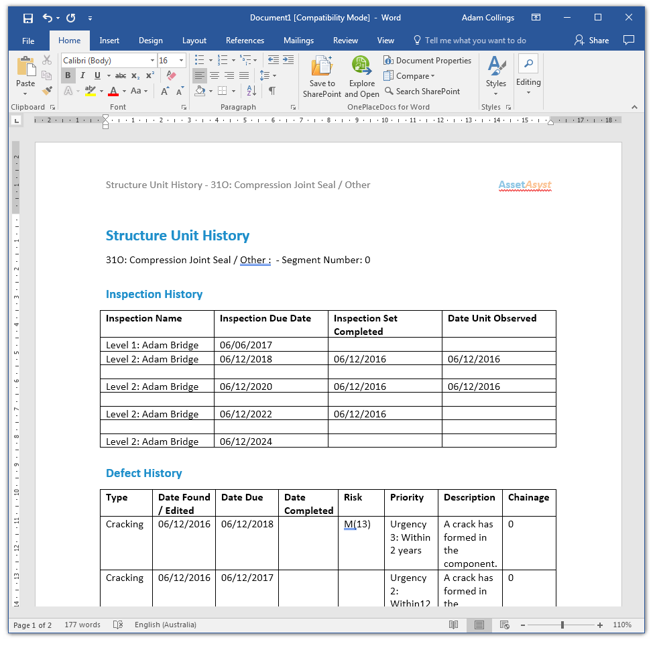
The Unit History report provides a complete history of a unit, detailing all inspections, defects, and works that are relevant. This is a useful report to run if a member of the public requests information on the history of an asset. The Unit History Report is launched from the unit information form. You can open this form from the Asset tree, open expanding the asset and clicking on one of the units.
 The unit history report button can be found at the bottom of the form.
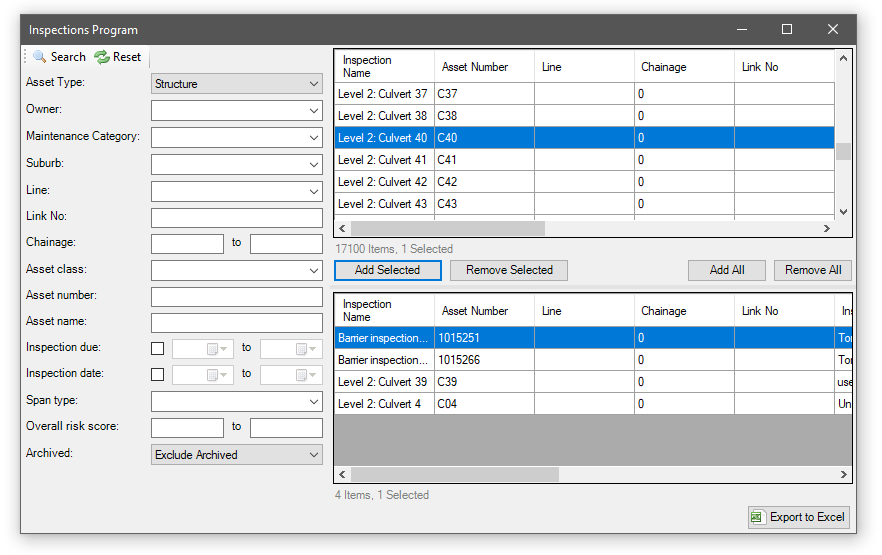
Filtering Reports
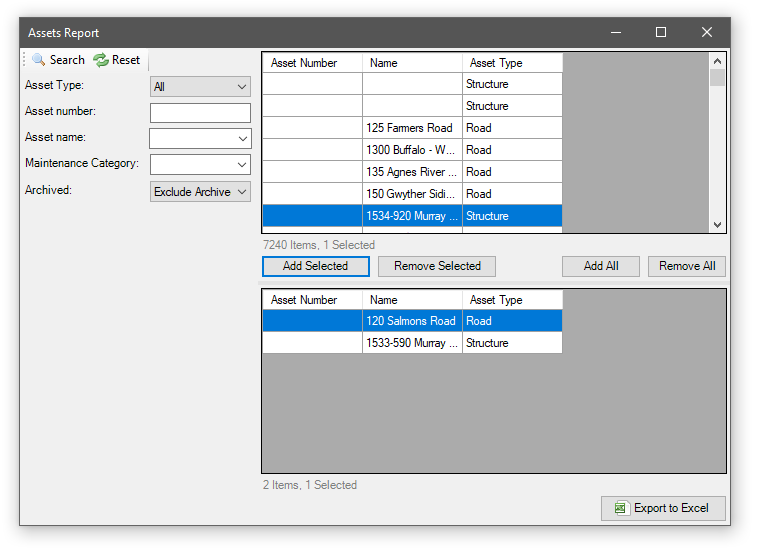
Most of the reports in AssetAsyst use a common filtering screen. Filters down the left-hand side allow you to specify a search. Search results show up in the top-right grid. These results can be hand-selected or added in bulk into the bottom-right grid. You can then run another search, to find additional results. The items in the bottom-right grid are those that will show up in the report.
Assets Report
The Assets Report exports relevant for a selected group of assets. The report can be run for just one asset type or all asset types (in which case, each asset type appears on a separate sheet). The details exported are customised and specific to each asset type.
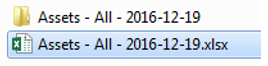
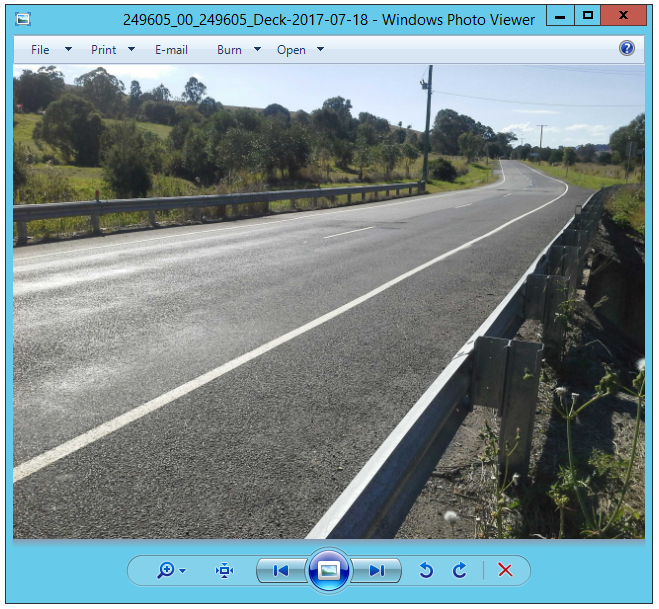
 This report exports custom field data, as well as photos and other attachments. If you choose to include attachments, they are exported into a sub-folder, and hyperlinks appear in the report, allowing you to open them.

Inspection Report
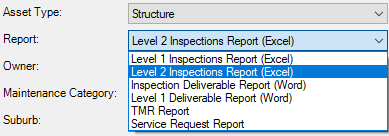
 The inspection report gives you access to three main sub-reports:
- Inspections Report (Excel)
- Inspection Deliverable Report (Word)
- TMR Report (Word)
The available reports change depending on the selected asset type. If only one sub-report is available for a chosen asset type, the inspection type selector will disappear.
Inspections Report (Excel)
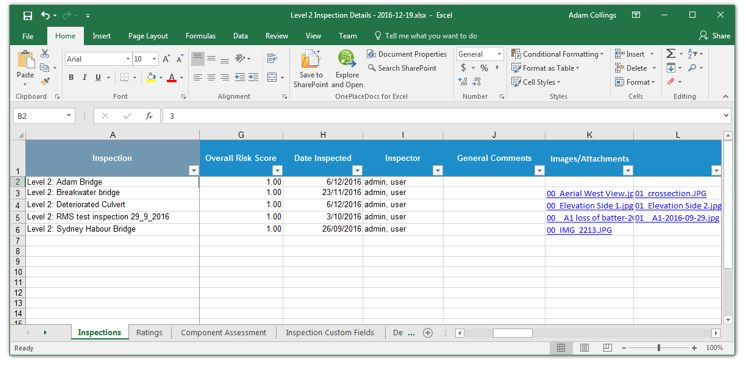
The inspections report exports as an Excel spreadsheet, much like the Assets report. The tabs and details exported differ based on the asset type and inspection type. Attachments can also be exported and hyperlinked in the report.
Inspection Deliverable Report (Word)
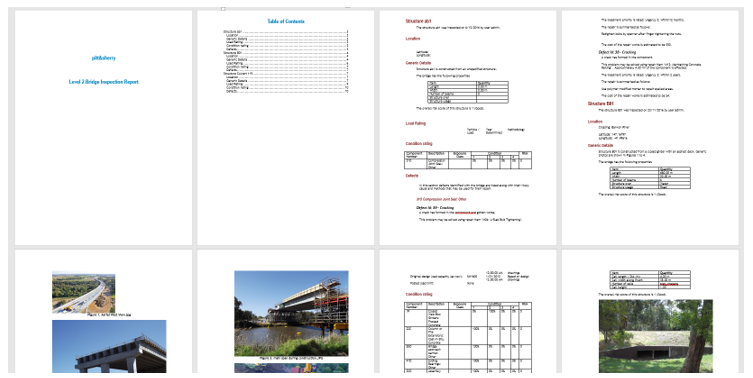
The inspection deliverable report is intended to be used as a glossy deliverable for inspection works. It is available for both linear inspections and structure inspections.
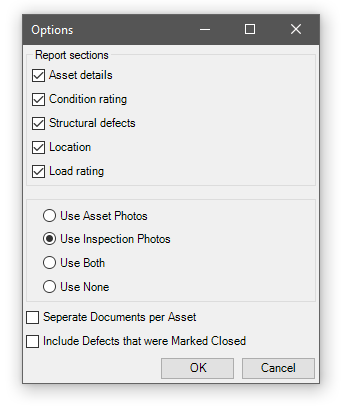
There are a number of options for this report. Various sections can be turned on or off, and the report can be created as one large concatenated document, or as separate documents per asset.
TMR Report (Word)
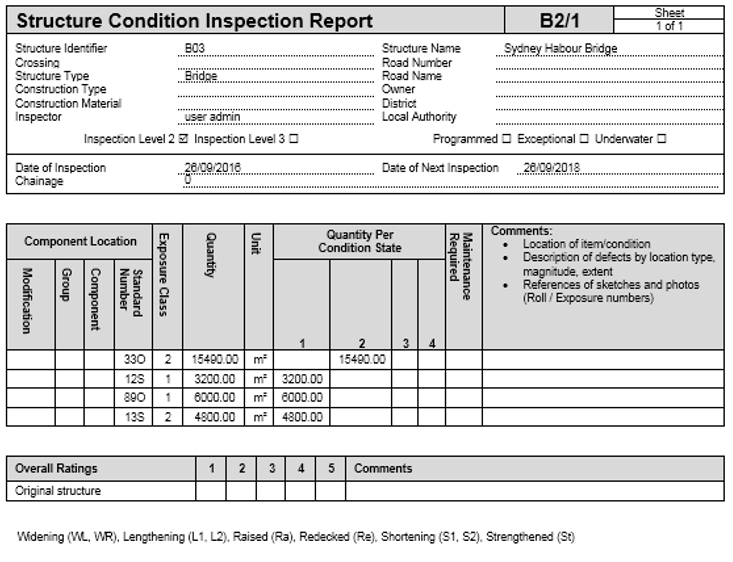
The TMR report is specific to structure assets using the Queensland methodology. This is the preferred reporting format of the Queensland Department of Transport and Main Roads.
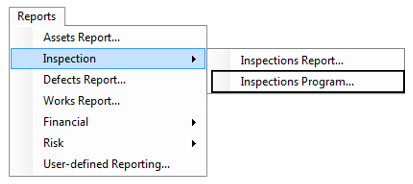
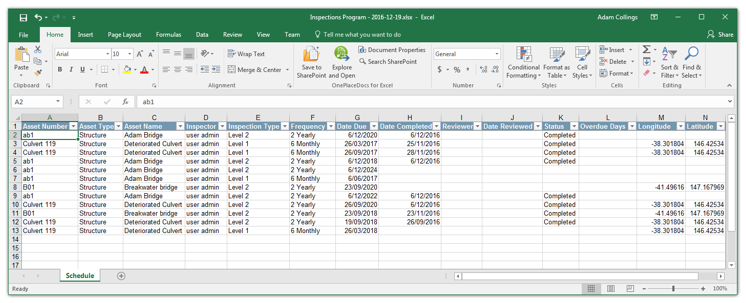
Inspection Program
The inspection program report details the schedule of inspections (both past and future) for your assets.
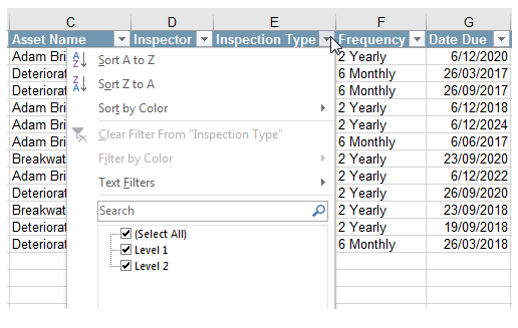
 You can filter the report by inspection type or status using the in-build Excel filters.
Defects Reports
The defect report lists the details of all your defects. It operates in a very similar manner to the asset and inspection reports.
 There are two sub-reports available in the defects report: The Current Defects Report and the Defects History Report.
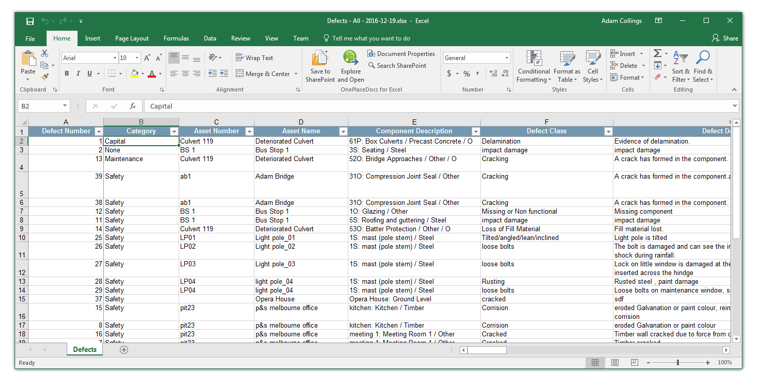
Current Defects Report
The Current Defects Report shows defects in their current state (as opposed to their historical states).
Defect History Report
The Defect History Report shows all historical changes for the selected defects.
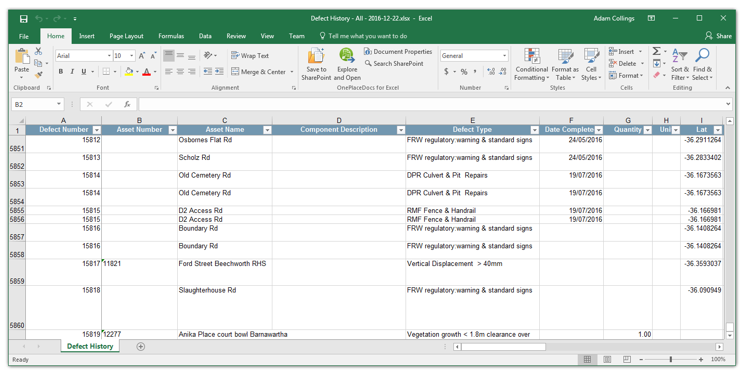 As with other reports, the defect reports can export attachments with hyperlinks.
Works Report
The works report details both basic and advanced work orders, listing the units and defects associated with them.

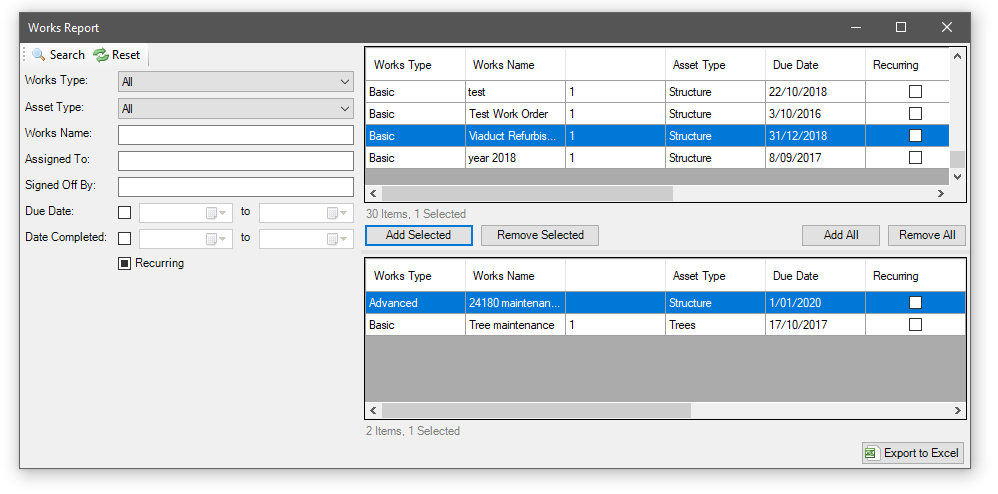
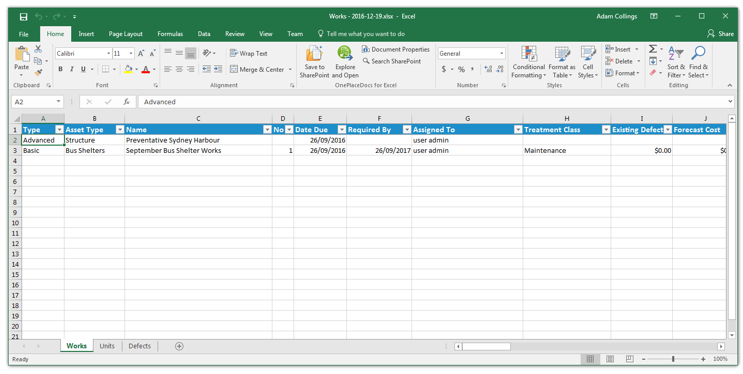 As with other report types, the works report can export attachments with hyperlinks.
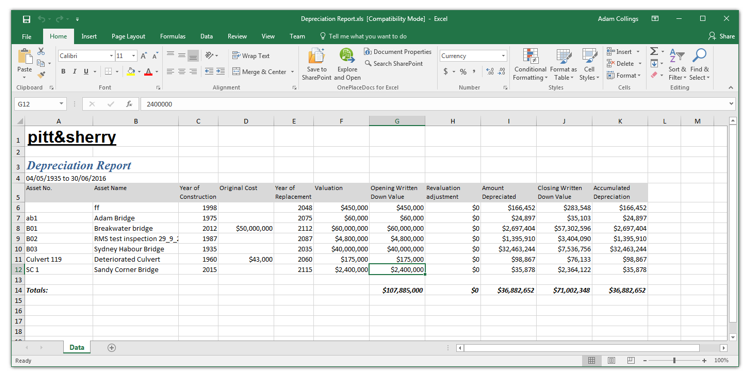
Financial Report
The financial report lists the financial details of structure and custom points assets.

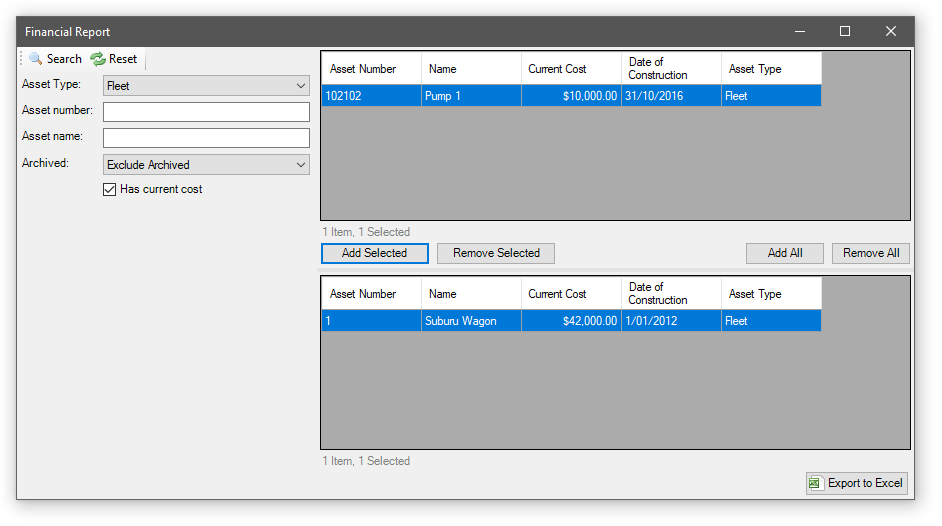
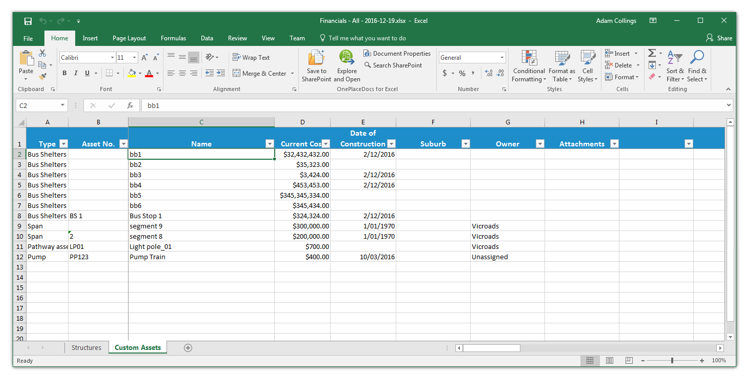 As with other reports, attachments can be exported with hyperlinks.
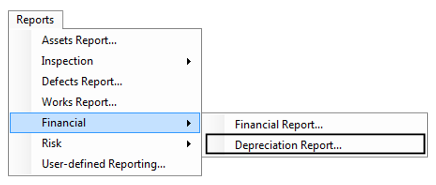
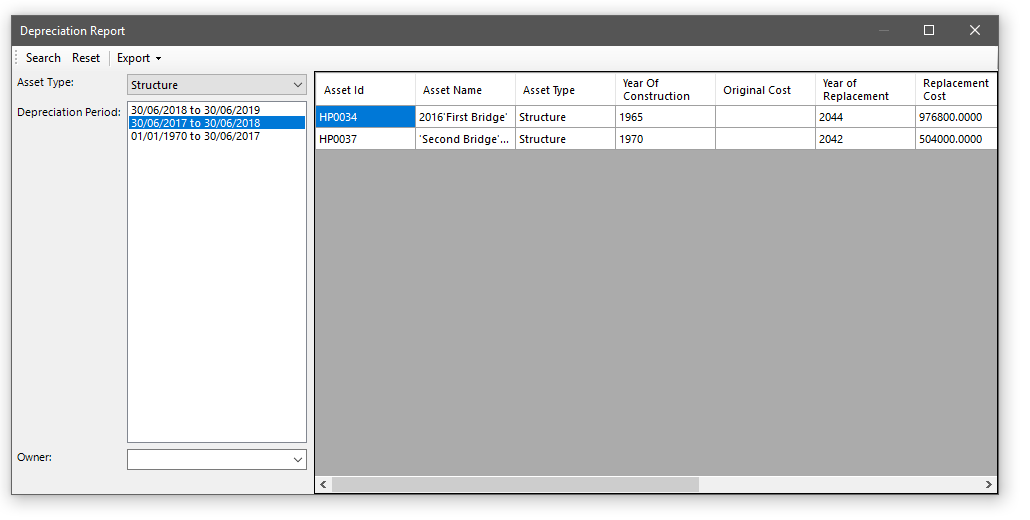
Depreciation Report
The depreciation report details the information from a given depreciation period.
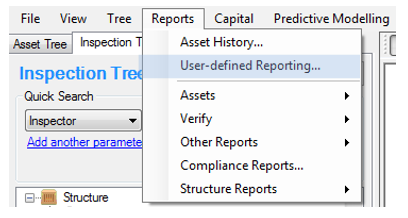
User-defined Reporting
AssetAsyst® features a rich data-mining module which allows you to produce your own queries and report on the data. These queries can be saved for later use and shared with other users.
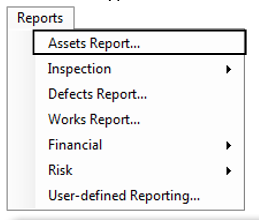
To launch it, open the Reports menu and choose User-defined Reporting.
 The user-defined reporting window will open.
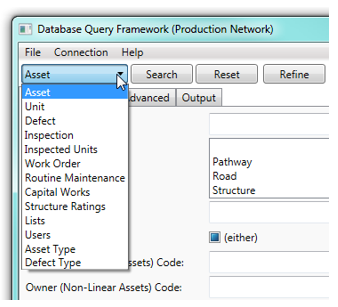
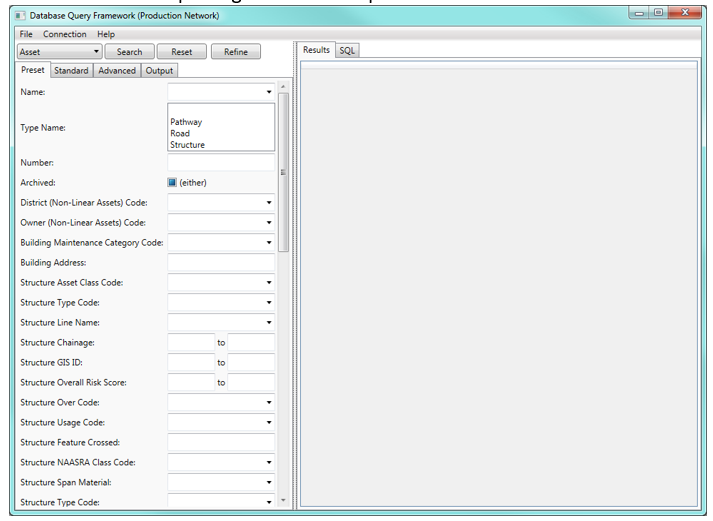 A key concept to understand in the user-defined reporting is that of subject. A subject is a type of object that you may want to search for. Some examples of subjects in AssetAsyst® are Assets, units, inspections, defects and work orders. Whenever you are running a query, you must specify the subject that you are looking for. You may filter using fields from many subjects, but the initial subject you specify determines what type of object is returned.
To choose a subject, drop down the box in the top-left of the window.
 There are three different types of query you can perform in the user-defined reporting tool, ranging in ease-of-use and power. You can choose which type of query you want to build by clicking on the appropriate tab.

Pre-set Search
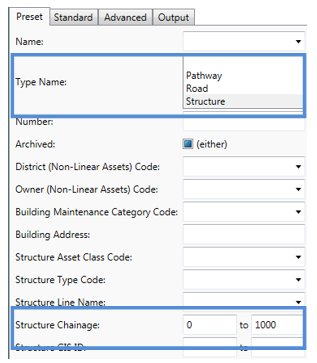
The pre-set search is the easiest to use, but it is also the least powerful. The pre-set search will present you with a list of pre-set fields, based on your chosen subject. You can provide a value in whichever of these fields you choose, to filter the data.
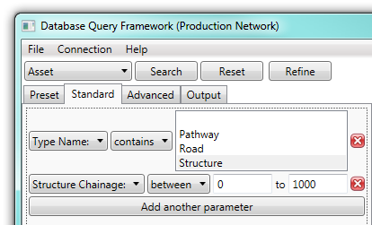
For example, if I wanted to find all Structure assets with a chainage ranging from 0 to 1,000 I would enter the values as shown to the right.
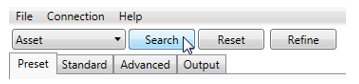
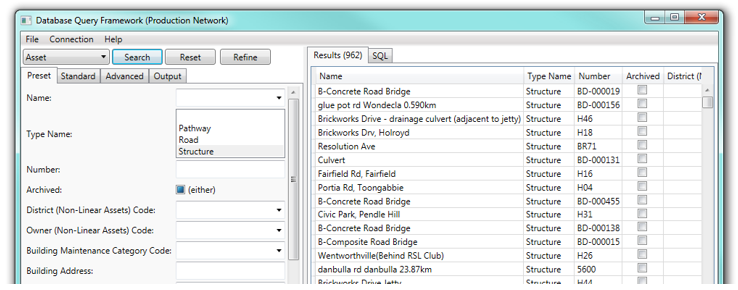
To run this query, I click the Search button and the results are displayed in a grid.
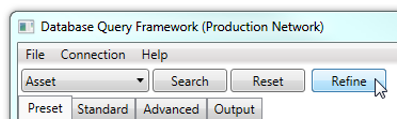
 Say I wanted to see structures in the chainage range 0 to 1000 excluding all with have B-Concrete in their name. Such a query could be performed using the pre-set search. We need to move up to the standard search. To do this, without losing what we have already done, we click the Refine button.
 We now see our search converted into a standard search, ready for further modification.
Standard Search
The standard search gives you more power than the pre-set search, but it is a little more complicated. You can add as many parameters as you want by clicking the Add another parameter button. Each parameter consists of a field name, an operator and (optionally) a value.
An operator defines how you want to compare the data in the database with the value specified in the parameter. Examples of operators that can be user are: equals, does not equal, contains, does not contains, is greater than, is blank. In the pre-set search, the operator was chosen for us based on context. Here we have the power to decide it for ourselves.
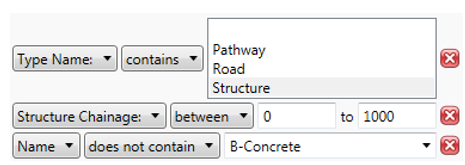
Let’s add another parameter to our query from the last section. Out query already gives us structures in the range 0 to 1000 chainage. We want to add that we only want structures whose name does not contain the text “B-Concrete”.
We click the Add Another Parameter button.
 We choose the name field.
 We choose the does not contain operator.
 We type “B-Concrete” into the value.
 We now have our completed query with three parameters.
 Parameters can be removed from the query by clicking the red X icon.
This is all well and good, but say we want to limit this search to only those structures inspected by a particular inspector, or those that have defects with an estimated cost greater than $500. We can’t query on inspector or defect cost because those fields belong to different subjects. How can we build a query that crosses the boundaries between subjects? This is where the advanced search comes in.
Again, if we want to convert out existing query into an advanced search, we click the Refine button.
Advanced Search
When IT professionals want to query data out of a database, they will usually write a query using a language known as SQL. This is a very powerful query language, but it may appear daunting to the average computer user. The advanced search in user-defined reporting comes much closer than the pre-set and advanced searches, to giving you something comparable to the power of SQL, without actually needing to know how to write it. With this power comes complexity, so the advanced search is the hardest of the three to use.
In the advanced search, you define your parameters in the top section of the window, and see then add them to the query being built in the lower part of the window. Parameters can be combined together using either the “AND” junction, or the “OR” junction. We’ll see more of this below.
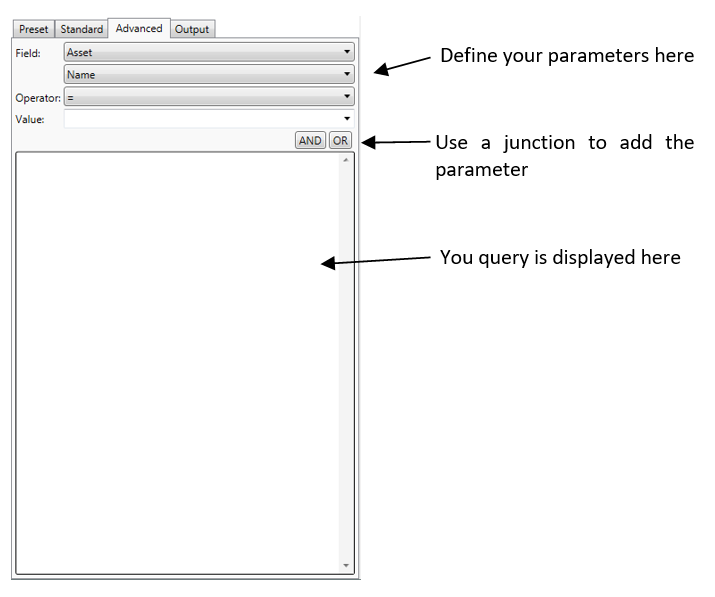 When building your parameter, the first thing you need to specify is which subject the parameter comes from. Remember that we have already chosen an overall subject (i.e. what type of object we are searching for).
 AssetAsyst® knows how to relate one subject to another. For example, if we are searching for assets, but we choose a parameter from the inspection subject, AssetAsyst® knows that it needs to find the inspections for that asset.
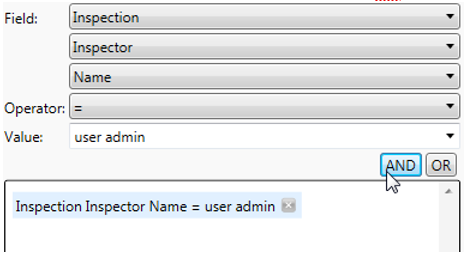
In the example below, we have specified the inspector’s name must equal “user admin”.
 We will add this parameter to the query. Since this is our first parameter, it doesn’t really matter whether we click the AND or OR button. We’ll click AND.
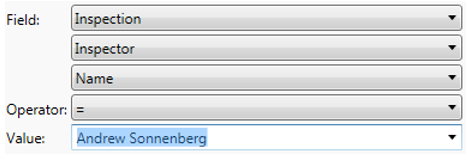
 Perhaps we want to find structures inspected by one of two different inspectors.
We define a new parameter for the next inspector.
Perhaps we want to find structures inspected by one of two different inspectors.
We define a new parameter for the next inspector.
 Then we click the OR button.
By combining parameters with AND and OR junctions, you can build quite complex queries.
Then we click the OR button.
By combining parameters with AND and OR junctions, you can build quite complex queries.

Output Fields
You will notice that whenever you click the Search button, you get a grid of data with a number of columns from the specified subject. But what if you wanted to see the asset name, the inspector and the defect description? These fields are all in different subjects. User-defined Reporting allows us to specify what output fields we want to see.
Click the Output tab.
 We see here a list of all the subjects in the left-hand box. The empty right-hand box represents the output fields we want to see. If the list is empty, the tool will decide what fields to show.
Expand out a subject and then drag the desired field across to the right.
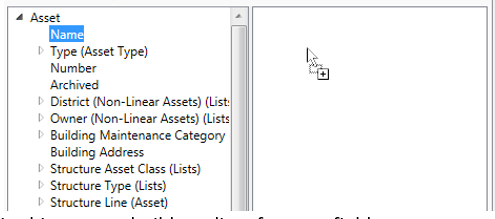 In this way we build our list of output fields.

Saving and Exporting
Queries can be saved and re-opened later. Use the Save As and Open options in the file menu.
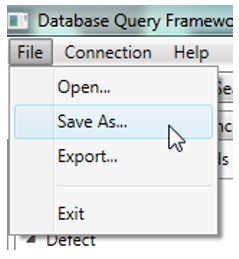 You can export the data from a query into Microsoft Excel. Choose the Export option from the file menu.