Map Customisation
AssetAsyst® has a fully integrated map pane embedded in the interface. This allows the software to operate seamlessly with GIS asset layers and helps to minimise the amount of time users need to move between systems.
Defects
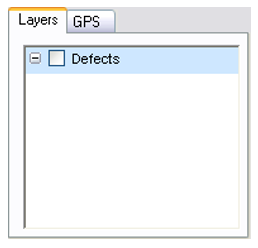
You will note a Defect layer automatically appears in the Layers tab.
Defects are dynamically displayed based on the coordinates that appear in the Location tab of the Defect Information pane. This layer cannot be deleted or removed. The same layer is used to display defects for all assets.
Add Map Layer
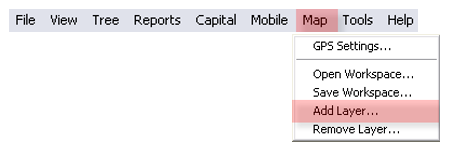
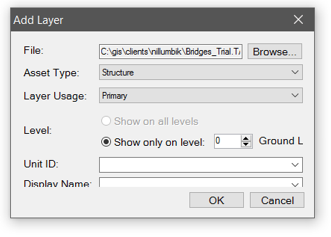
Map layers can be added to the Map Pane by opening the Map Menu and selecting the Add Layer item. Each layer must be individually added to the map. Map layers can be derived from almost any map file format, including CAD generated files.
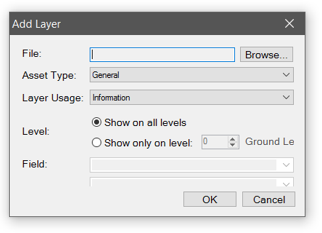 Click Browse to select the GIS layer.
A layer can be assigned to an asset type such as Road, Pathway, Building or Bridge, or it can be a general layer. Make a selection from the Asset Type drop-down list. Next, select a Layer Usage. General layers can be either Information or property. Asset type layers will either be Primary or Zone.
Linking Asset Layers
A primary layer will have a feature for each asset’s unit. For some asset types such as structures, a single feature will represent the entire asset, not the asset’s individual units.
A zone layer allows you to place polygons which categorise geographical areas into certain zones. When creating an inspection, you will be able to add all units that fall within a specified zone. This can be a helpful time saver.
A zone layer can be specified to be visible on all levels, but a primary layer must be assigned to a specific level. Layers for roads, pathways and bridge structures should be assigned to level 0 (ground level). When it comes to building layers, the first floor of a building can be assigned to level 1, the second floor to level 2 etc.
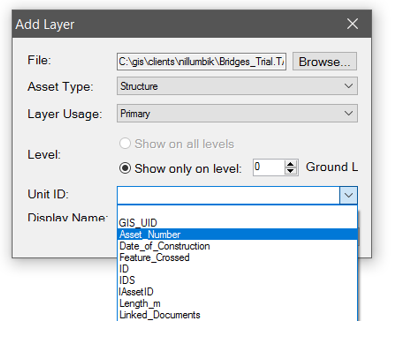
The most critical step in linking your Asset layer is ensuring the map layer contains unique IDs that match the unique IDs in AssetAsyst®. The selected unique ID field in the map layer should be the same as the Unit Number field for each unit.
Unit Number only needs to be unique for a given asset type.
Generating Layers
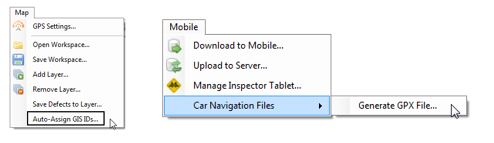
If you don’t already have an asset layer, you can generate one out of the data in AssetAsyst. This feature works with structure assets and point custom assets. Your First, you need to ensure that all your assets have latitude and longitude coordinates. Next, you will want to ensure that every asset has a unique GIS id. You can automatically assign these from the Map menu under Auto-Assign GIS Ids. You can then generate the layer from the Mobile menu, under Car Navigation Files.
General Layers
A layer that is categorised as General, rather than as an asset type, can have a usage of Information or Property.
Information layers can be any layer that is generally useful to you. It might be satellite imagery for example. AssetAsyst® will not do anything specific with this layer, but you can view it and change its styles.
A Property layer can be used to assist inspectors when recording pathway defects. The property layer must be a polygon layer and it should contain fields that reference ‘street number’ and ‘street address’.
When entering a pathway defect, the inspector will sometimes need to inform the owner of the property near the defect. AssetAsyst® will analyse the geographic location of the defect and find the property on the property layer that is near it. The software can then read out the street number and name to assist in writing the letter to the owner.
To add a property layer, select General in Asset Type and Property in Layer Usage. Select the field containing the Street Number and the filed containing the street Name.
Layer Styles
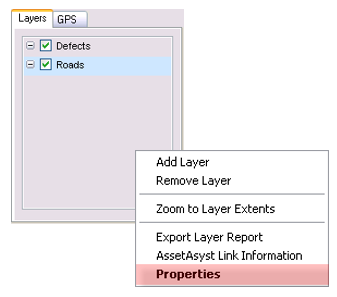
Each layer has a set of uniquely editable styles. Make the styles different to distinguish each layer apart. To edit layer styles, select the layer in the Layers tab then right click to open the Properties form. Users familiar with GIS systems will have no trouble navigating and adjusting settings.
Users may also wish to have the same layers and layer styles the next time the software is run. Workspaces can be used to make a favourite layer combination or set of styles appear each time AssetAsyst® is run.
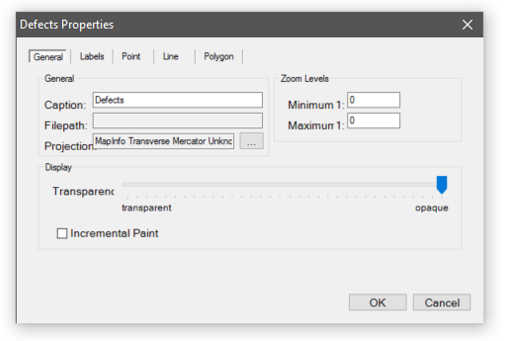
General Tab
The General Tab is the first to appear each time.
Caption
The Caption initially refers to the layer filename. The Caption is the name the user will see in the Layers Tab and can be changed at any time.
Zoom Levels
Setting Zoom Levels for a layer will cause the layer to be visible or invisible at the specified zoom levels. This is useful for layers like a property layer where you only want to see parcel details when zoomed in.
Display Transparency
Setting a Transparency allows the layers at the bottom of the layer profile to be visible. This could be important if users wish to see imagery whilst displaying property boundaries.
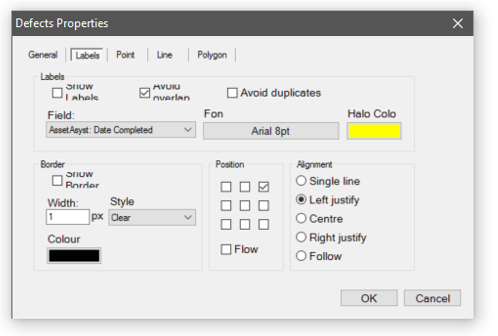
Label Tab
The Label Tab allows positioning and styling of the label font. It also allows for a degree of placement on the map. User preferences are generally unique, so some experimentation will be required to obtain a balance of usability and functionality.
For example, layers with line features can use Alignment Follow to rotate the label text along the length of the feature.
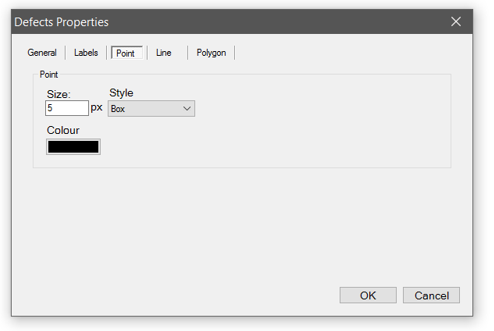
Point / Line / Polygon Tabs
The Point Tab, along with the Line and Polygon tabs, allow changes of colour and symbol thickness, with minimal symbol style changes.
In other GIS systems features can have border styles applied. AssetAsyst® reserves the use of borders to indicate status in the map. For this reason the end user cannot modify the borders for these features.
Workspaces
A Workspace is a saved file that refers to map layers, their map styles and view extent.
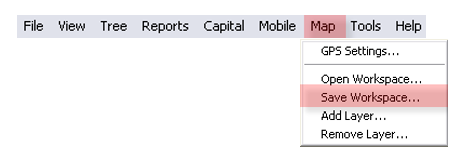
Saving a Workspace
To save a Workspace, the simply click the Map menu and then the Save Workspace menu item. The last saved workspace will appear next time the software is loaded.
A workspace can be opened at any time by clicking the Open Workspace menu item from the Map menu.
Select the workspace to open and click the Open button. Users can load workspaces created by other users.
If a map layer is not accessible to a user opening a workspace containing that Mapbase, the map pane will not display that layer. All other layers will be displayed.
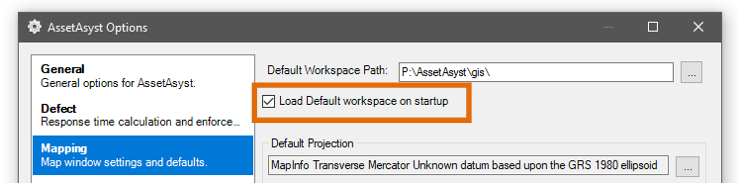
Default Workspace
While AssetAsyst provides the freedom for each user to have their own custom GIS workspace, specific to the needs of their particular job, some organisations may find benefit in standardising what GIS layers should be displayed. This can be achieved through the user of the default workspace.
To set up a default workspace, first, configure the gis layers as you want them (ensuring that the layers are stored on a network location that is visible to all users). Then use the “Save Workspace as default”
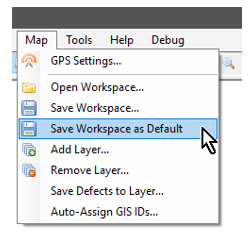
Individual users can opt-in to the default workspace from the options screen.