Heavy Vehicle Route Assessment
Most road network asset owners know what structures they own, where they are located and what condition they are in. Less understood, is the capacity of those structures to cope with modern vehicles and permit vehicles.
In Australia, responsibility for the management, maintenance and development of road networks rests with asset owners comprising State Road Authorities, municipal councils and private road network owners, collectively known as Road Managers.
Over the last 100 years, vehicle loading has increased significantly. Increased loading means increased risk for asset owners. Overloading can lead to structural damage, asset under‐performance and failure. For asset owners, resulting injuries to road users, related liabilities and network disruption are a very real concern.
The AssetAsyst Heavy Vehicle Route Assessment tool can help mitigate these risks by storing the relevant load capacity information. Then it can analyse combinations of vehicles and structures, and report on the loads.
Vehicle Configuration
Creating a Vehivle
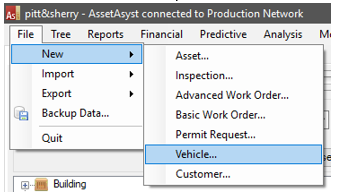
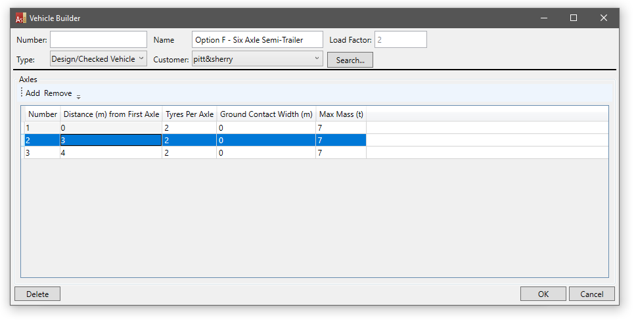
From the File menu, choose New \ Vehicle.
 Enter a number and name for your new vehicle. You can enter a load factor for the purposes of analysis, but if you leave it, it will see the default value in light grey text. The default can be changed in the Heavy Vehicle settings in the main menu under Tools \ Options.
You can also assign a type and customer, if you choose.
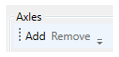
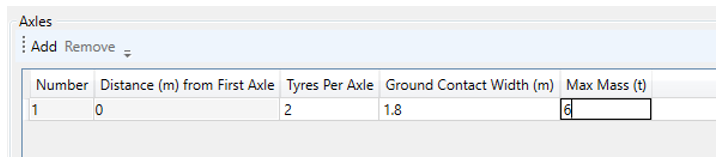
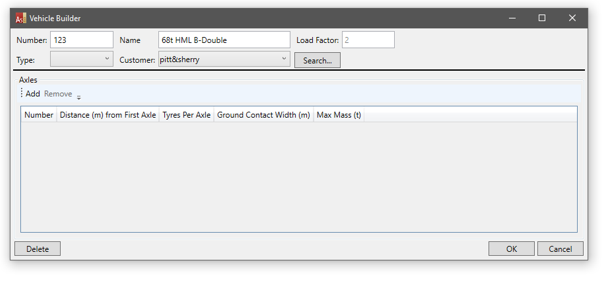 Next, you can define the axles. Click the Add button.
 The first axle will always have a 0m distance from first axle, and cannot be changed. Enter the number of tyres per axle, the ground contact width and the maximum mass.
 Continue this process for all axles on the vehicle.
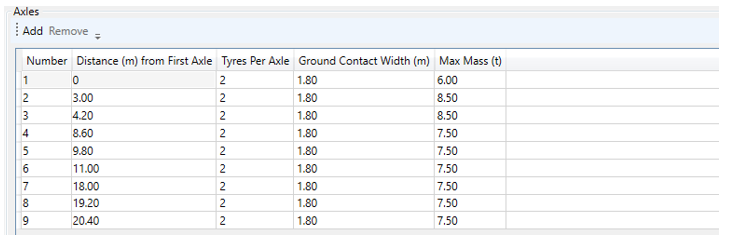 If you wish to remove an axle, click on the row to select it, then click the Remove button.
Click OK and the new vehicle will be saved.
Editing an Existing Vehicle
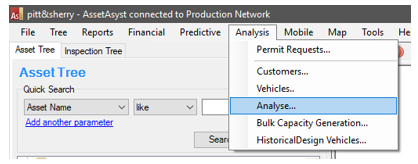
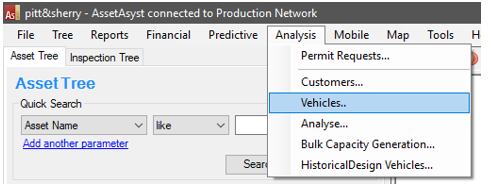
Open the Vehicles lookup from the Analysis menu.
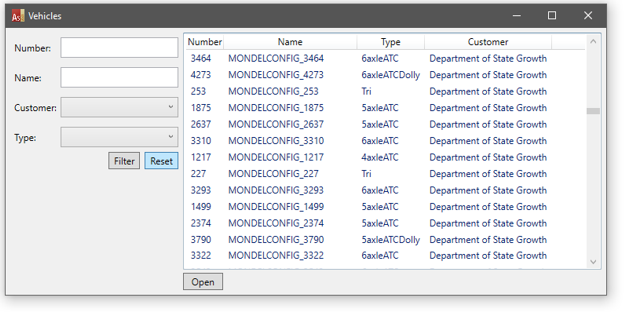
 Use the filters to locate the vehicle you wish to edit. Then double-click the vehicle, or select it and click Open
 You can then edit the vehicle.
Configuring Structure Capacity
Open the Permit tab on the structure asset info form.
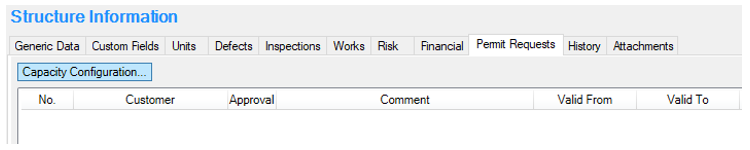 Click the Capacity Configuration button.
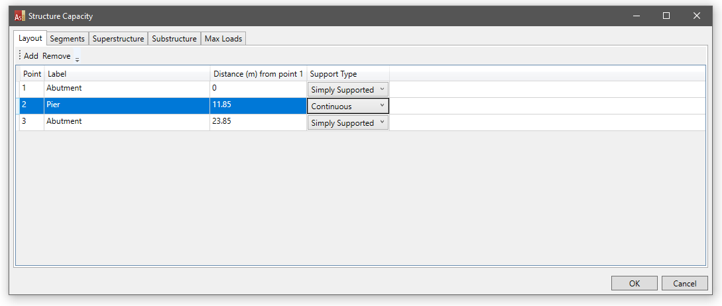 In the layout tab, you can specify the support points for the structure.
The segments tab shows you the segments of the structure between the support points. There will always be one less segment than there are points.
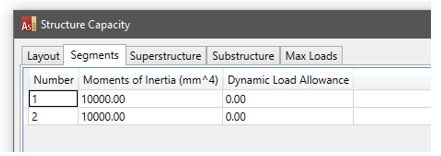 You can configure the moments of inertia and dynamic load allowance for each segment.
The capacity of the structure is configured in the superstructure and substructure tabs.
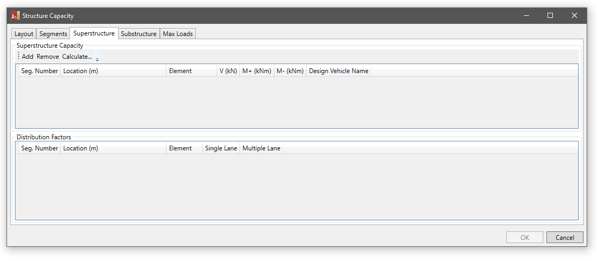 Using the Add and Remove buttons, you can manually add capacity information to whatever location on the structure you wish, on a variety of elements, such as internal beam, external beam or design lane.
 AssetAsyst allows you to specify the shear (V) and Moment (M) values.
To make life easier, AssetAsyst can calculate the superstructure capacity for you by running a design vehicle over the bridge and recording the resulting forces.
To make use of this feature, click the Calculate button.
 The calculate superstructure form will open.
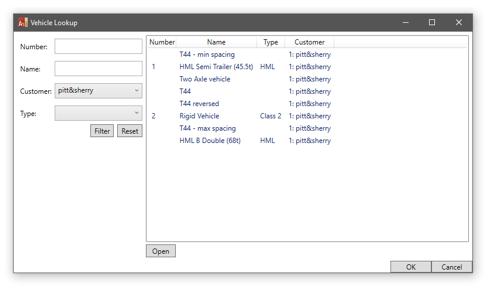
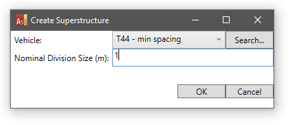
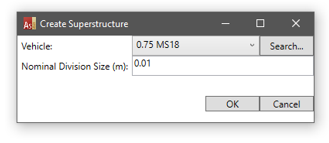 Select a vehicle. If the list of vehicles in the system is long, you might find it easier to click the search button, then you can locate the vehicle of your choice using the filters.
 Enter a nominal division size. This will define roughly how far apart the capacity locations will be generated.
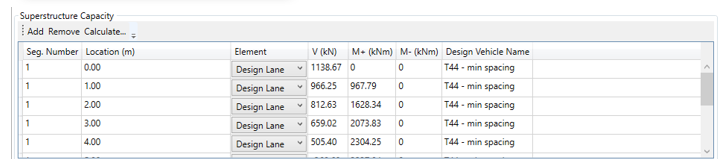 AssetAsyst calculates the shear and moment at various locations, driving the design vehicle over the structure.
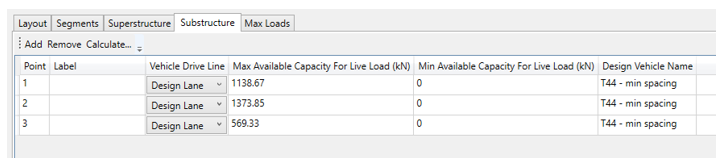
Similarly, in the substructure tab, you can create rows manually, or use the calculate button.
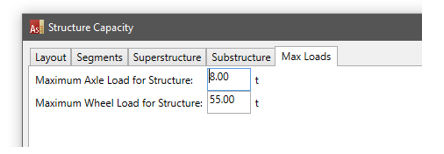
 In the Max Loads tab, you can specify the maximum and minimum loads for the structure.
Bulk Capacity Generation
Setting up the superstructure and substructure capacity for all bridges in your network would be a time-consuming task, even with the calculate button. For this reason, AssetAsyst offers a bulk capacity generation tool.
For the system to work, it will need to know the design vehicle to which each bridge was designed. This can be specified manually.
![]assets/op_heavy21.png)
Again, this could be a time-consuming process, so AssetAsyst can infer the design vehicle based on the date of construction.
 AssetAsyst offers a database of design vehicles per year which you can maintain.
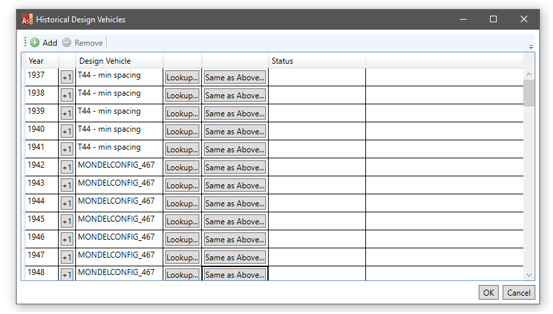 For each of data entry, when you add a new row, you can click the +1 button. This will advance the year forward by one, from the record above. Likewise, click the Same as Above button to set the vehicle to the same as the previous record.
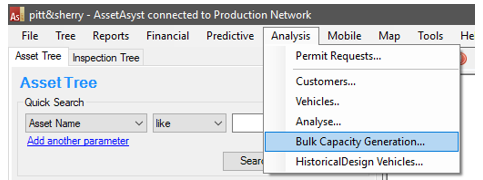
Start the process by choosing Bulk Capacity Generation from the Analysis menu.
 Choose the options you want. There are three ways the system can deal with existing capacity records. You can ignore the bridge if it already has capacity, you can delete the existing capacity, or you can just generate the new capacity to sit alongside the old.
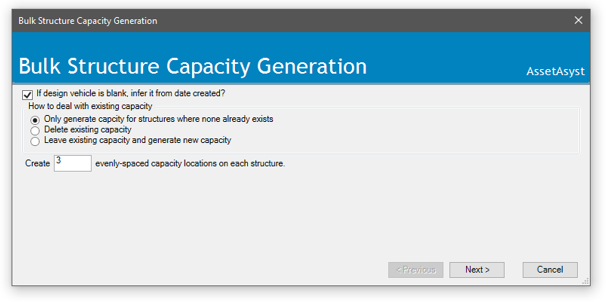 Click next.
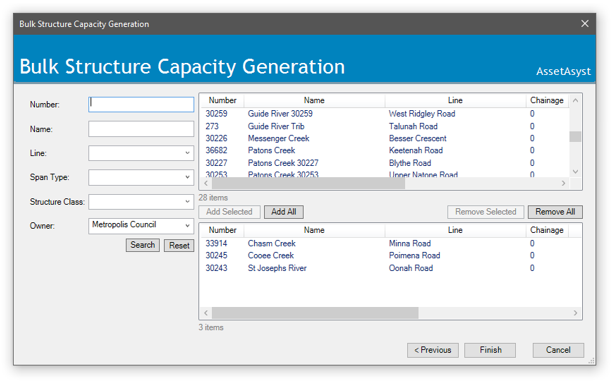
Select the structures for which you want to generate capacity.
Clicking search will populate the top list with assets that match the specified filters. The bottom list holds those assets for which you want to generate capacity. Use the add and remove buttons to populate the bottom list from the top list. You can conduct multiple searches using the filters and add the results to the bottom grid.
Click next.
Select the structures for which you want to generate capacity.
Clicking search will populate the top list with assets that match the specified filters. The bottom list holds those assets for which you want to generate capacity. Use the add and remove buttons to populate the bottom list from the top list. You can conduct multiple searches using the filters and add the results to the bottom grid.
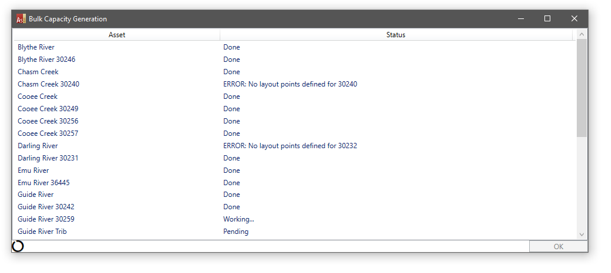
 Click finish and the capacity will be generated for you.
Heavy Vehicle analysis and Permitting
Asset owners will sometimes be required to provide input into a permit request from the nation heavy vehicle regulator. AssetAsyst provides tools to Analyse bridges and vehicles to help asset owners calculate and provide this information.
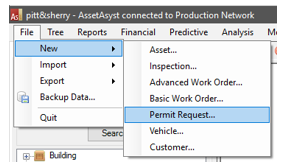
Create a new permit request from the File menu, by choosing New | Permit Request.
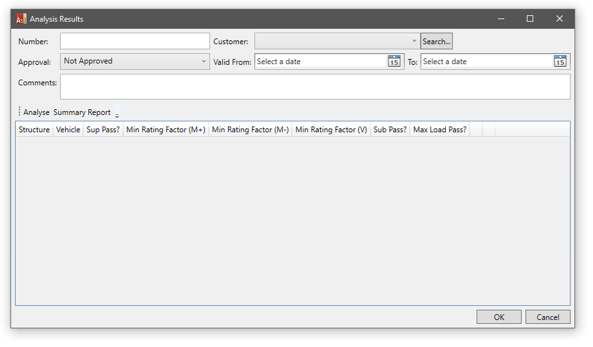 A number will automatically be assigned to the permit when you click OK. Select a customer for this permit.
In the next step, you will select the vehicles the client wishes to use, and the structures they will cross on their route. AssetAsyst will then calculate whether the bridges will sustain the loads of the vehicles.
Click the Analyse button.
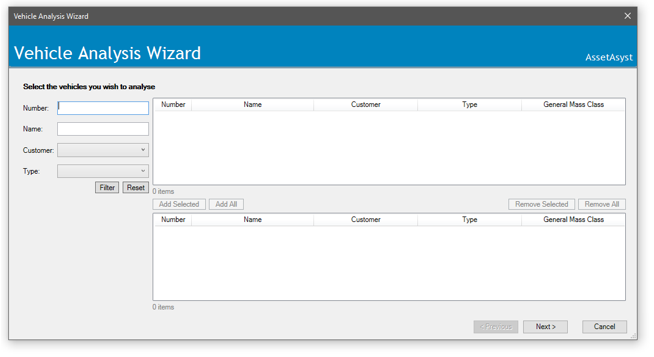
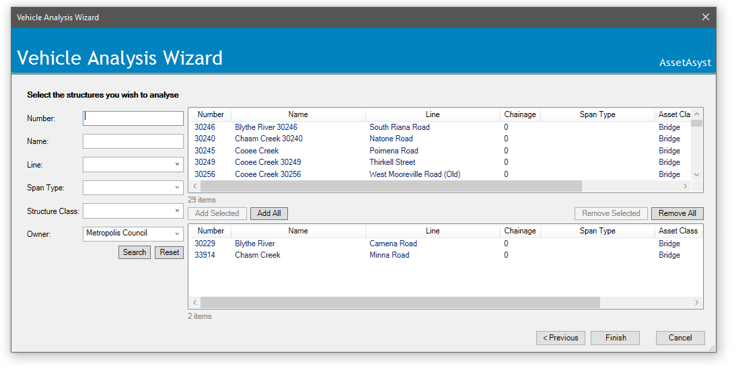
 Select the bridges that you want to analyse.
Clicking search will populate the top list with assets that match the specified filters. The bottom list holds those assets for which you want to generate capacity. Use the add and remove buttons to populate the bottom list from the top list. You can conduct multiple searches using the filters and add the results to the bottom grid.
Select the bridges that you want to analyse.
Clicking search will populate the top list with assets that match the specified filters. The bottom list holds those assets for which you want to generate capacity. Use the add and remove buttons to populate the bottom list from the top list. You can conduct multiple searches using the filters and add the results to the bottom grid.
 Click Next.
Select the structures that you want to analyse.
Click Next.
Select the structures that you want to analyse.
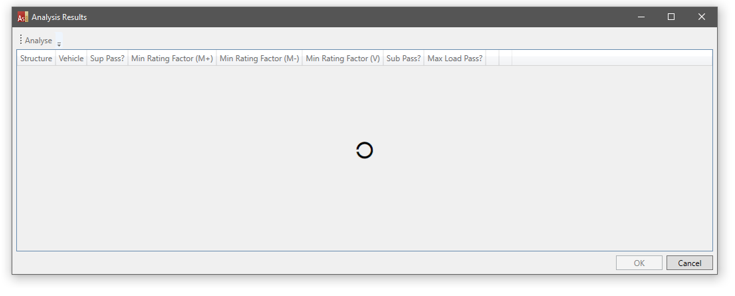
 Click next. AssetAsyst will run the analysis.
 The results will be displayed. Each structure/vehicle combination will receive a pass/fail based on superstructure, substructure and maximum load. They will also be given a min rating factor based on superstructure
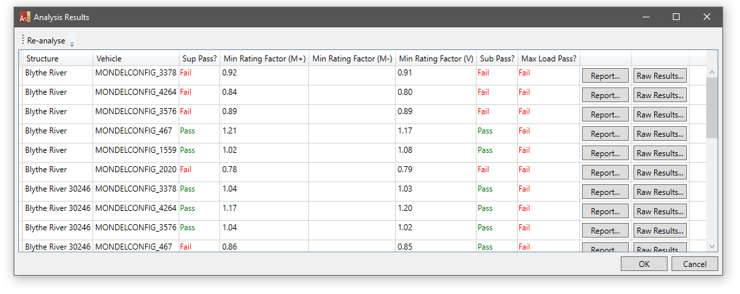 To get more details on the rating factors, click the Report button.
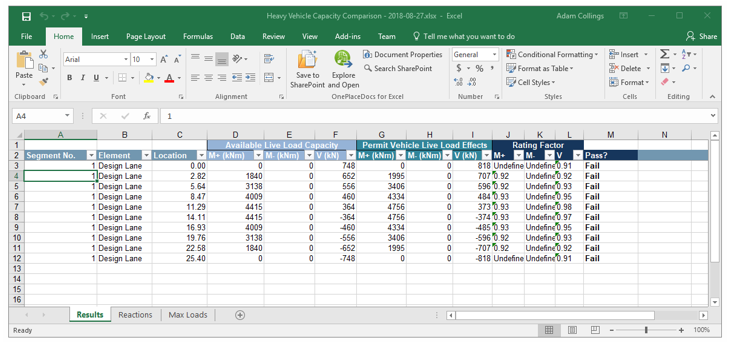 The report details the rating factors for each location on the structure.
Note there are also sheets for details on Reactions and Max Loads.
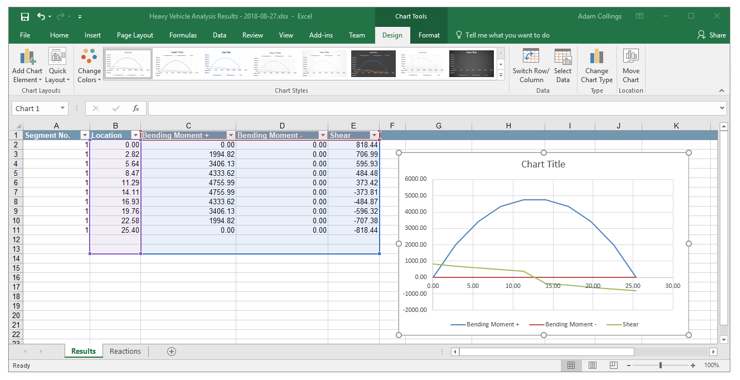
You can see the raw results without the comparison with the capacity by clicking the Raw Results button.
 Using the in-built features of Excel, you can graph the data to see the forces visually.
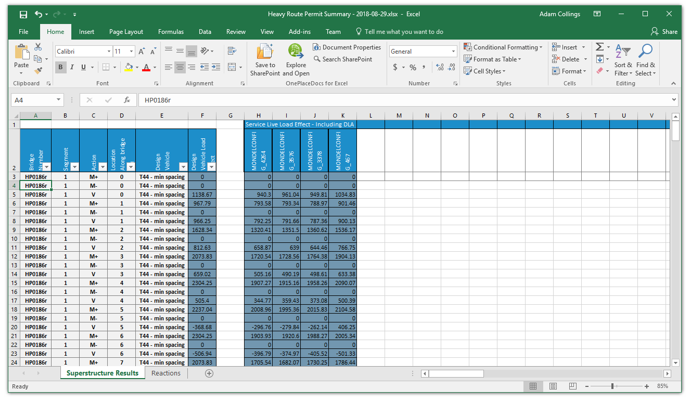
 Reporting on individual results for a bridge/vehicle combination is useful, but you may often want a summary report for all bridges and vehicles on the permit. To run this report, click the Summary Report button.
 The report shows the shear and moment forces for all bridge, vehicle combinations at various locations along the structures. The second sheet shows the reactions.
 If you wish, you can re-run the analysis. This will run all calculations using the latest data on the bridges and vehicles. Simply click the Re-Analyse button.
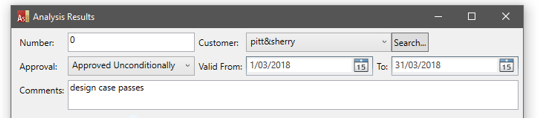
 Having looked at the analysis results, you are now in a position to make decisions on whether to approve or deny the permit request.
The request can be approved unconditionally, approved with conditions, or denied. Details or conditions can be entered into the comments box.
Having looked at the analysis results, you are now in a position to make decisions on whether to approve or deny the permit request.
The request can be approved unconditionally, approved with conditions, or denied. Details or conditions can be entered into the comments box.
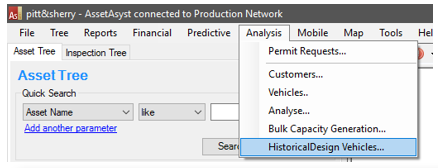
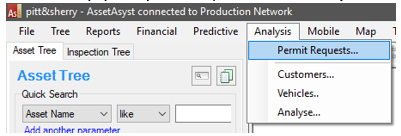
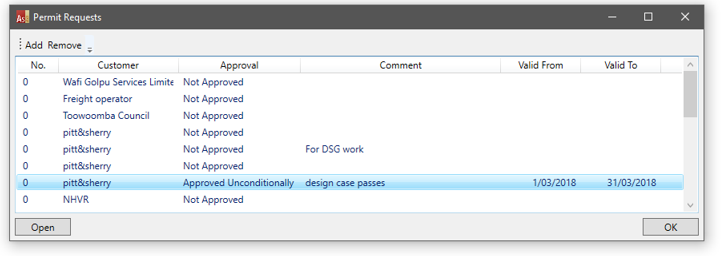
 To look up past permits, click the Analyse menu and choose Permit Requests.
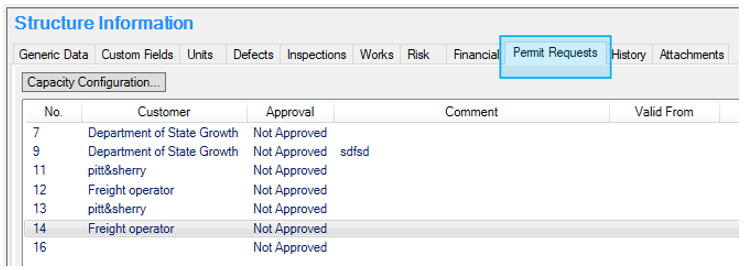
 You can also view the permits for a given bridge from the Permit tab of the asset information form.
 NOTE: You don’t need to have a permit to run an analysis. You can perform an ad-hoc analysis by choosing Analyst from the Analysis menu.